
The Client Portal adds a front-end portal for your contacts to access key data linked to your CRM. This means they can log in, update details, view (and pay) invoices, accept quotes and more, directly on your site!
This works by storing a link between a CRM contact and a WordPress user. You can choose whether you want Jetpack CRM to automatically create your WordPress users for you, or these can be created manually when editing a specific contact.
The Jetpack CRM Client portal runs from the following shortcode.
[jetpackcrm_clientportal]
Jetpack CRM automatically creates a Client Portal page with the shortcode when the plugin is installed.
Client Portal Settings
Navigate to Jetpack CRM > CRM Settings > Client Portal to configure your Client Portal.

Client Portal Page
The default Client Portal page will have the slug clients.
If you prefer a different endpoint, you can edit or create the page you want to use for the Client Portal, and make sure the page is selected in the “Client Portal page” setting.
Allow Easy-Access links
Enabling Easy-Access link will allow non-logged-in users to view quotes and invoices via a secure hash URL.
If you’re sending a quote proposal by email, and if you’d like your CRM contacts to be able to view and accept quote proposals without logging into their client portal, you can do so by enabling this setting.
Click here to learn more about Easy-Access links.
Show Transaction Status
Starting with Jetpack CRM v. 5.3, Client Portal provides an option to set Transaction status on Client Portal Transaction page.
Enabling “Show Transaction Status” setting will make “Transaction Status” column appear up on your CRM Contact’s client portal Transactions page:

Generating Client Portal Logins
Since Client Portal logins leverage WordPress user infrastructure, you must generate WordPress user to give your Jetpack CRM contact access to their Client Portal.
You can choose to either automatically generate WordPress users for all new Jetpack CRM contacts, or opt to manually generate a WordPress user for each Jetpack CRM contact.
Automatically generate WordPress users
If you’d like Jetpack CRM to automatically generate WordPress users for new contacts, you can enable that setting in Jetpack CRM Settings > Client Portal > Client Portal User Accounts.

By default, enabling this setting will automatically email the new contact a welcome email as soon as they’re added. If you prefer not to have the welcome email sent, you can disable this email template.
Manually generate WordPress users
If there isn’t a user account, you can generate one with Jetpack CRM by following these steps:
- Go to Jetpack CRM > Contacts, and edit the contact.
- In the Client Portal section, click the Generate WordPress User button.
Once you’ve generated a new user, Jetpack CRM will send an email to that user with login details to their client portal.
Note: this process creates a ‘Jetpack CRM Customer’ user role. This is a limited capability role (so they cannot access much of the admin panel).
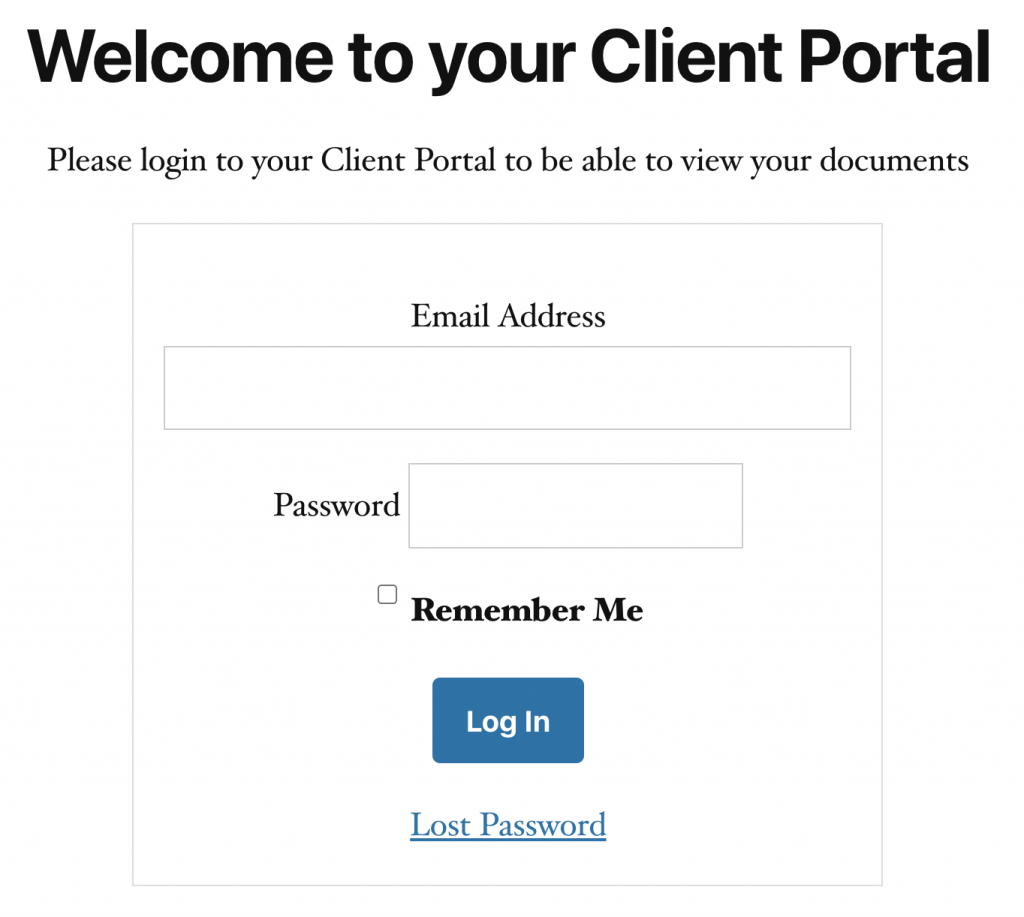
Client Portal Login Area
Creating Contact Portal access is the first step to utilising the Customer Portal with Jetpack CRM. But how does it look for the contact? Well, it creates a login area for your users:
Extending the Client Portal
With Client Portal Pro, you can modify the tabs, endpoints and icons for your client portal. It also comes with additional tabs, pre made, which power up your Portal such as
- Display Tasks related to your contact, with “Add to Calendar” links for them – here’s how to do it
- Show Tickets related to your contact, if using our Awesome Support Connector
- Allow Files to be downloaded that are displayed on the Portal for your contact – here’s how to do it
You can read more about Client Portal Pro here.
Read how to Extend the Client Portal in our Knowledgebase Guide.
Single Invoice View

The Client Portal is very useful for sharing invoices. You send your customer a link to the client portal, they log in and can see all of their invoices (and whether they are paid or not), all in one place. You can even automatically email new invoices to contacts for payment.
With the Invoicing Pro extension you can even accept payment online using PayPal or Stripe.
Frequently Asked Questions
Are New WordPress Users Created Automatically?
Not by default. We didn’t want to add extra bloat to the CRM by generating new WordPress users with every addition of a contact. You can optionally enable this automatic user generation in the Client Portal settings.
Can I turn off the Client Portal Functionality?
You sure can. If you don’t invoice your clients / customers and don’t want to have the client portal active, you can disable it in Jetpack CRM > > Core Modules.
How are passwords reset for the Client Portal?
If your client forgets their password, you can generate them a new one from the WordPress Users panel, or the contact edit or view pages.
Are the passwords that are auto-generated strong?
Yes. The password is a randomly generated strong password. No ‘JetpackCRM_RocKS’ type passwords here.